Going sugar-free but don’t know where to start? Nutritionist Sarah Flower has advice on replacements and six sugar-free dessert recipes that will make it easy

Scary stuff.
I still bake, I still eat desserts and chocolates
Putting us at risk of a whole host of diseases and illness from diabetes, heart disease right through to Alzheimer’s, arthritis and obesity.
I am passionate about encouraging the sugar-free lifestyle, but don’t think this is an existence devoid of all sweet and lovely treats. I still bake, I still eat desserts and chocolates, but the key here is they are homemade, sugar free and healthy.
Sweeteners
There is a lot of misinformation regarding sugar free. Some people opt to be free of refined sugar, instead opting for maple syrup, agave or honey. However, a word of warning. You are still taking in sugars in the form of glucose and, most worryingly, fructose.
I also use rice malt syrup occasionally when I want a syrup in cooking
Your body metabolises them in the same way whether they are from refined or natural sources so really, you are just taking a sideways step. There are only 3 sugar alternatives I would recommend – Stevia, xylitol and Erythritol. I also use rice malt syrup occasionally when I want a syrup in cooking. None of these raise blood sugars and are fructose free, meaning they have very little impact on my health. However, there are a few other things to consider.
some people are more sensitive to the taste than others
Stevia
Very sweet and the cheapest out of all 3, Stevia does have a strange aftertaste which is hard to control. I have found liquid stevia has less aftertaste but it is really trial and error and some people are more sensitive to the taste than others. Plus you need very tiny amounts so a bit of a juggling act to start with.
Xylitol
It is can have a laxative effect if you use too much
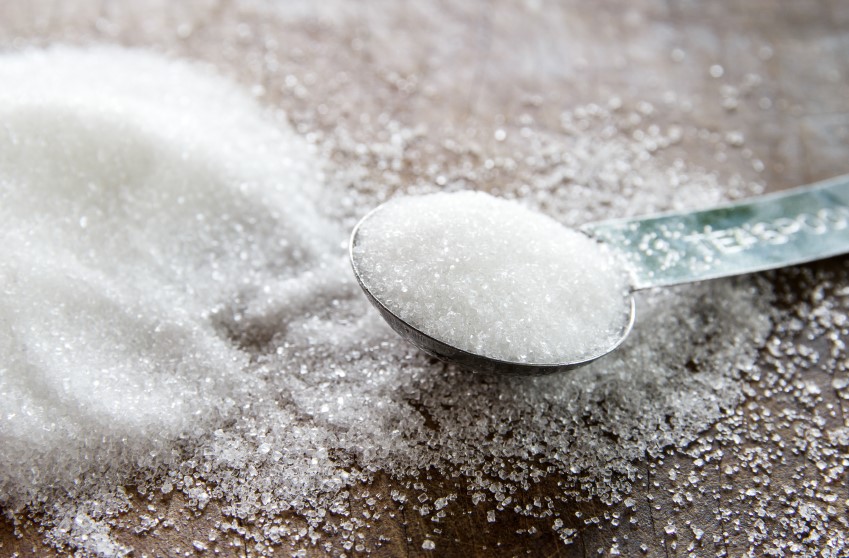
(In supermarkets called Total Sweet) looks just like sugar. It can be used as a direct replacement to sugar so no need to change any recipes and it has no aftertaste. The downside? It is can have a laxative effect if you use too much. It is also toxic to dogs (though should you really feed cakes to your dog??).
Erythritol
Use the sweeteners as a transition towards sugar free
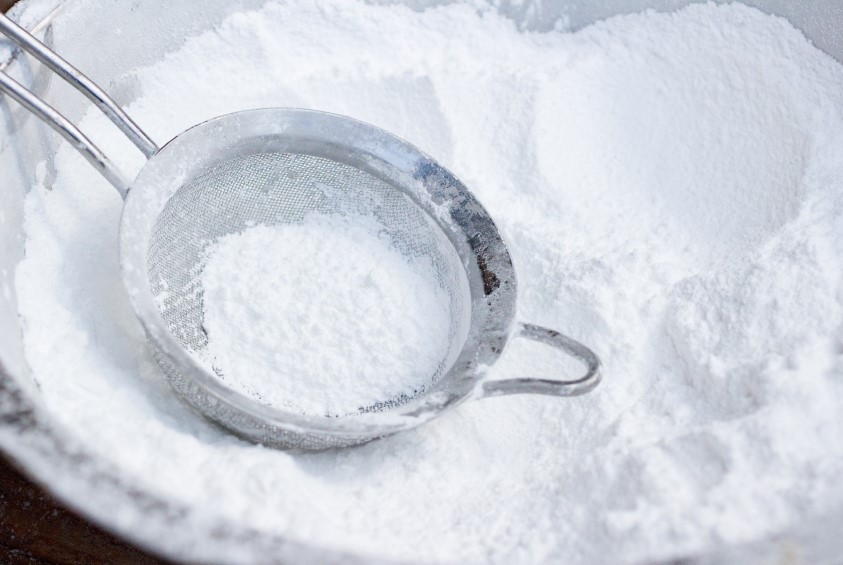
Found in blends from companies such as Natvia and Surkin. You can buy this as icing sugar, sugar and even brown sugar. Again use this as a direct replacement in recipes, but be aware they often add stevia to these blends as Erythritol on its own is not so sweet, so you may still detect a slight aftertaste.
You do need to start to train your palate off sugar and sweet cravings; you don’t want to swap one sugar for another alternative. Use the sweeteners as a transition towards sugar free. Gradually reduce your sweeteners as your palate changes.
we simply cut the sugar in every recipe by 10% every couple of weeks
I hardly use any sweeteners in my food now as I find them sweet enough. I work as a nutritionist for a company that provides catering to schools. We decided to cut sugar in every school. We did not change any recipe, add any other ingredients, we simply cut the sugar in every recipe by 10% every couple of weeks. We got to 40% before anyone noticed. It is worth considering doing this before you embark on a totally sugar free lifestyle.
It is possible to create your own sweets for you and your children.
The Sugar-free Tuck Shop
As part of my sugar free family cookbook (comoing out next year), I am creating lots of sweets and treats. The chapter it called The Tuck shop and full of tempting treats. It is possible to create your own sweets for you and your children. It is also great to get your children involved in creating these, whilst explaining why these are healthier than the packaged products. Education is key and kids love this!
Here are some of my favourites:
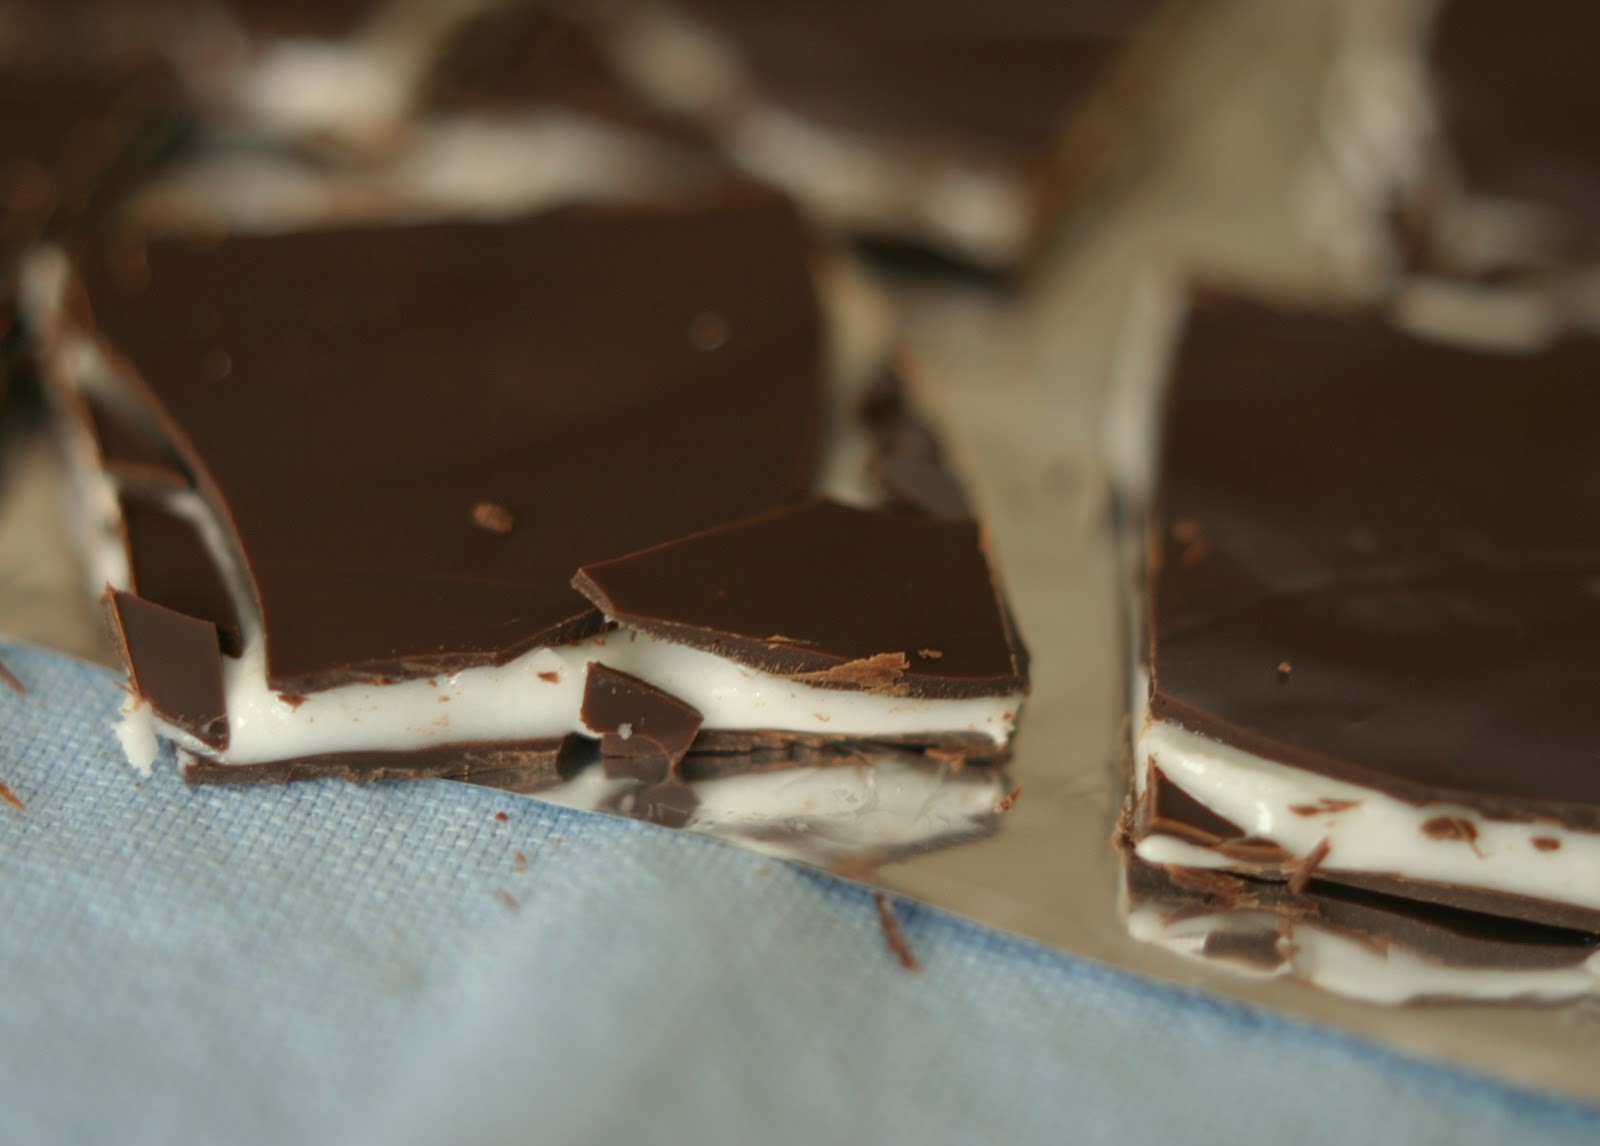
After Eight Bites
You can make these in a baking tray and cut into squares before dipping into chocolate or if you want to be a bit fancy, why not use a silicon chocolate mould. Coat the moulds with dark chocolate before adding the filling, then cover again with chocolate. Freeze between each stage to speed up the process.
3 heaped tbsp. of coconut oil, melted
4 tbsp. of extra thick cream
1 tsp peppermint extract
1-3 drops of liquid stevia or 2-3 tsp of xylitol, (optional)
250g Dark chocolate, melted
Melt the chocolate, I do this in the microwave, checking every 30 seconds, until melted.
If you are making in a baking tray, line this now with greaseproof paper. Pour half the chocolate into your tray (I use a 8×8” brownie tin) and spread until even. Place in the fridge or freezer until set.
If you like something sweet, you could add some stevia or a sprinkle of xylitol.
Alternatively, you can line your silicon chocolate moulds with dark chocolate, place in the fridge or freezer until set
Mix the melted coconut oil with the extra thick cream and peppermint extract. It will curdle at first but keep stirring with a small hand whisk or fork. It will start to thicken as it cools. If you like something sweet, you could add some stevia or a sprinkle of xylitol.
Pour the mint mixture onto the set chocolate base (or fill the chocolate moulds) and return to the fridge or freezer to set.
When set, cover with the remaining dark chocolate and refreeze/refrigerate until.
If using the tray method, remove from tray and cut into small squares. Place in an airtight container in the fridge.
Sugar Free Faux Ferrero
It tasted amazing and we soon realised it was exactly like Ferrero Rocher.
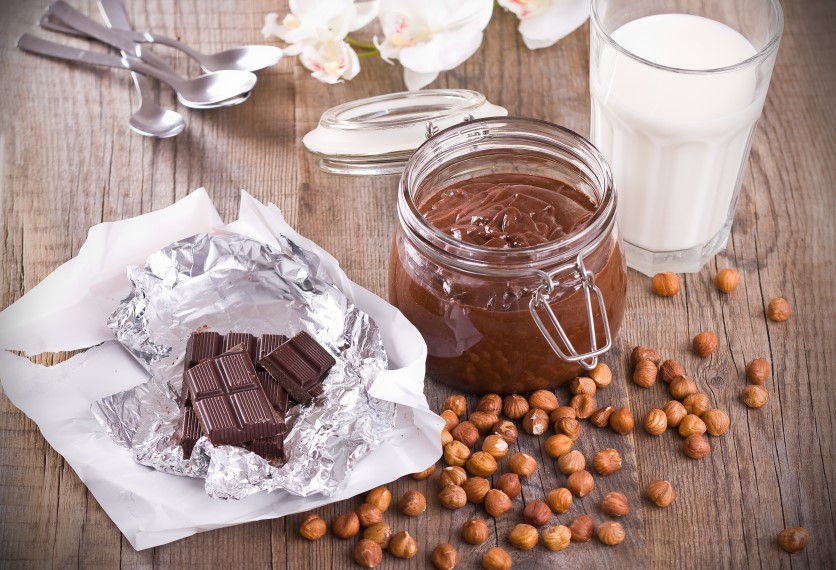
I must concede that I had very little to do with this recipe. My son decided to make my sugar-free chocolate spread. I left him too it and only intervened when he shouted that the mixture was too thick. He had blended everything together instead of blending the hazelnuts first, so we ended up with a thick, chocolate mixture with a combination of whole and blended hazelnuts. It tasted amazing and we soon realised it was exactly like Ferrero Rocher. We then abandoned the idea of chocolate spread, made these into balls and then coated with chocolate. How wonderful!
Makes 15-20 Chocolates
Base
200g hazelnuts, blanched
75g dark chocolate, melted
2tbsp coconut oil, melted
1 tbsp. cocoa or cacao powder
1 tsp pure vanilla extract
To coat
50g dark chocolate, melted
2 tbsp. coconut oil, melted
Preheat oven to 160c and add hazelnuts to a baking tray and roast for 8-10 minutes. When the nuts are warm it helps them to release their oils, making a much smoother spread.
For ease of use, I use blanched hazelnuts but if you use ones with the skin on you will have to remove these before adding to the blender. You can do this by placing in a freezer bag and shaking/rolling which will remove most of the skins.
Whilst the hazelnuts are heating up, melt the chocolate and coconut oil together.
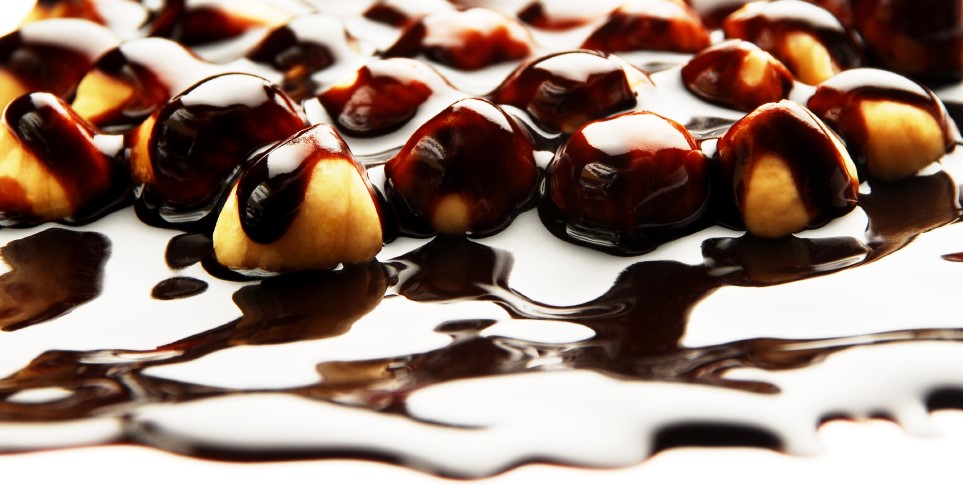
Scrape out into a bowl, it will be a thick blend of chocolate. If it is too wet to handle, pop in the fridge or freezer for 10 minutes to firm up a little.
Pop on some disposable gloves, gather a teaspoon or so of mix and form into a ball. Pop a whole hazelnut into the centre and reball. Place on a sheet of greaseproof paper.
Refrigerate for 20 minutes.
Melt more chocolate and coconut oil, combine well. Dip the balls into the chocolate (I place each ball on the end of a fork and dip into the chocolate) or pour the chocolate over the balls – whatever you find easier. Sprinkle with some chopped hazelnuts. Refrigerate again until set.
As these contain coconut oil, I tend to keep them refrigerated to prevent going soft.
Sugar-free Jelly Bears
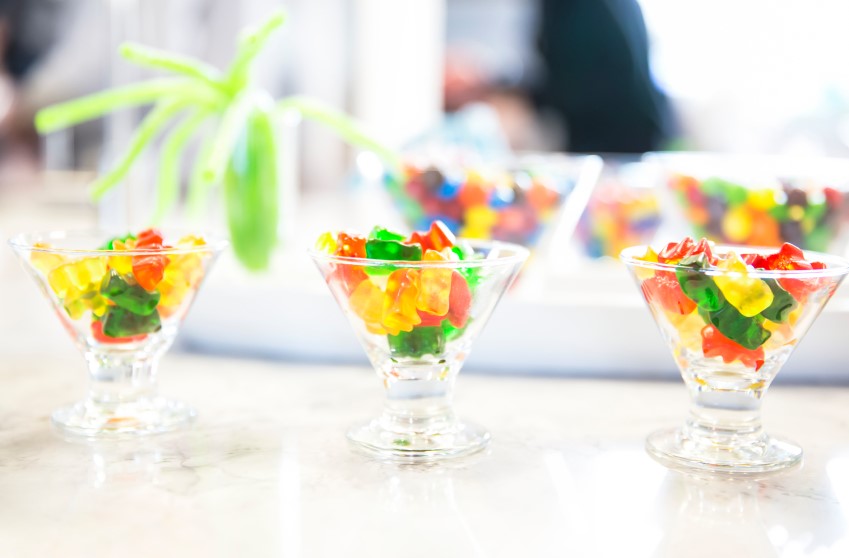
This mixture makes 24
150g Fresh or frozen berries of your choice.
150ml Water, milk or coconut water (milk makes a cloudy jelly baby!)
2 tbsp. xylitol or Erythritol blend (or a few drops of stevia liquid to taste)
Lemon juice
3 tbsp. gelatine
Place your berries into a pan and heat gently, releasing the juices. Once they start to leak their juice, you can use a stick blender to blend until you have a fruit puree. Sieve to remove any seeds and place this to one side.
In another pan, heat the water, sweetener and lemon juice until combined and warm. Add the gelatine and stir until it is smooth and clear.
Add the fruit puree and combine well before carefully placing in your silicon moulds. (I place my moulds on a baking tray before filling as I find it easier to transport them this way).
Leave to set in the fridge for at least 30 minutes
Chocolate Orange Creams
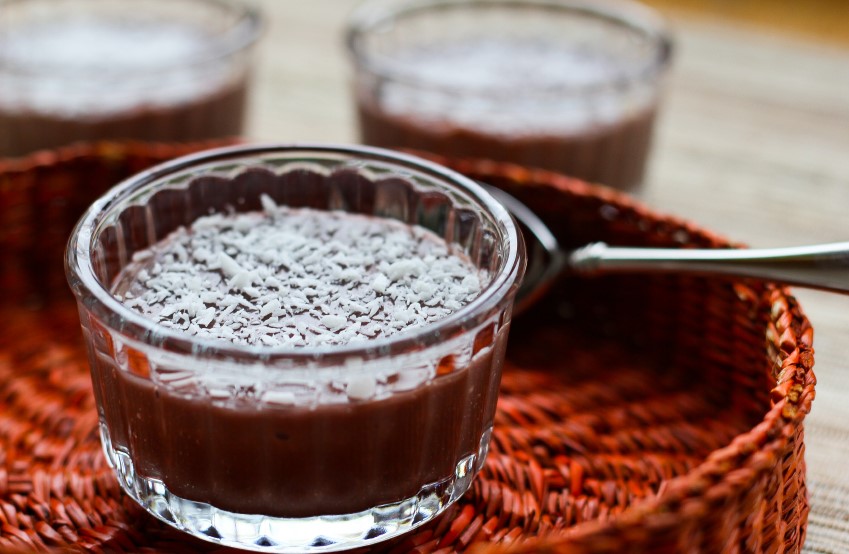
Makes Twelve
Dark chocolate, melted
2 tbsp. coconut oil, melted
3-4 tbsp thick cream
Orange flavouring (to taste)
1-3 tsp Xylitol or a few drops of stevia liquid (optional)
orange food colouring (optional)
Melt the chocolate in the microwave or bain marie.
Coat the silicon moulds with the chocolate. I use a brush to do this.
Place in the fridge or freezer to set. Once set, you may wish to line again if you want a nice thick chocolate
When ready, melt the coconut oil. Add the cream. This will curdle but use a fork or a whisk and keep stirring as it will come together. As it cools it will thicken up a lot more.
Add your flavouring, sweetener (if needed), and optional colouring. If you are using Cointreau, add 1-2 tbsp to the mixture. Taste as you go to achieve the correct strength of flavour and sweetness that suits you.
Remove the moulds from the fridge and fill with the mixture. Place back into the fridge for 10 minutes
Melt more dark chocolate and add the final chocolate coating before placing back into the fridge.
Once set, turn out and pop into a container. I keep these in the fridge until eaten.
Dark Chocolate Coconut Bars
These are really easy to make and kids love them. They may seem a bit of a hassle to make but they store well in the freezer so you can batch cook.
Makes 6
200g desiccated chocolate
2 tbsp. coconut oil, melted
2 tbsp. rice malt syrup or xylitol
3 tbsp. coconut cream
150g dark chocolate (or melted raw Cacao)
Combine all the ingredients apart from the chocolate in a bowl.
Once combined, mould into small sausage shapes and place on a baking tray.
Place the tray in the freezer and leave until frozen.
Once frozen, you can start with the chocolate. Melt the chocolate (either in a microwave or Bain Marie).
Once melted, remove the coconut bars from the freezer and coat with the chocolate. You can dip these into the chocolate or coat one side at a time, turning once set. Place on a sheet of baking parchment and place in the fridge or freezer until set.
I store these in the fridge or freezer.
Lemon Creams
I make these in silicon chocolate moulds as they look really lovely. The lemon flavour depends on the type of flavouring you use. I have tried several and they vary so the key is to taste as you make it, too much can be too artificial. For adults only, why not add some Limoncello to the mixture.
Makes 12
Dark chocolate, melted
2 tbsp. coconut oil, melted
3-4 tbsp thick cream
Lemon flavouring (to taste)
1-3 tsp Xylitol or a few drops of stevia liquid (optional)
lemon food colouring (optional)
Melt the chocolate in the microwave or Bain Marie.
Coat the silicon moulds with the chocolate. I use a brush to do this.
Place in the fridge or freezer to set. Once set, you may wish to line again if you want a nice thick chocolate
Taste as you go to achieve the correct strength of flavour and sweetness

Flowers passion for cookery and nutrition started in her childhood. With hours spent in the kitchen with her mother, She not only taught her to cook but also how to prepare healthy meals on a budget.
Sarah Flowers, designs everyday family recipes as well as recipes to suit different diets – such as gluten free, sugar free, low calorie, vegan or low carbohydrate.
She is often asked to create recipes to suit new kitchenware gadgets/utensils too.
For more information on Sarah, her work and more recipes visit www.sarahflower.co.uk: Twitter: @MsSarahFlower
Sarah Flowers Sugar Free Family Cookbook will be out early Spring 2017.
Like this article? Sign up to our newsletter to get more articles like this delivered straight to your inbox.


