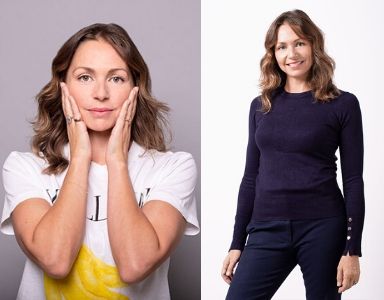
Leading facialist Ada Ooi, founder of 001 Skincare brings you a step by step anti-ageing face massage to help lift and contour the skin
The aim of this massage is to lift the contours of the face which involves a number of upward strokes which should be repeated for best results.
I usually start my face massages with this body exercise:
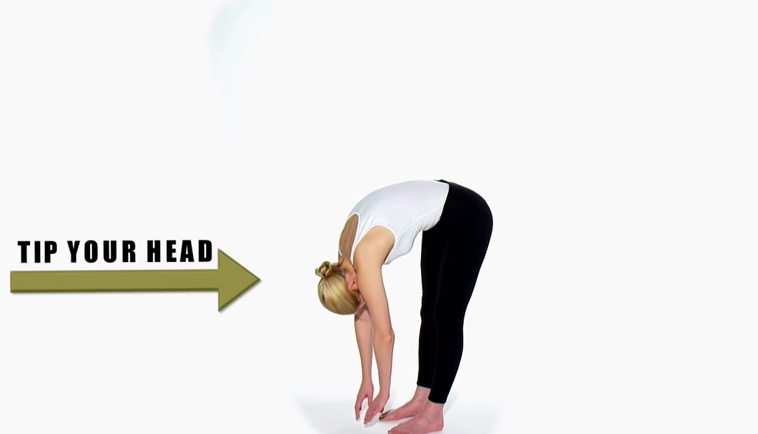
1. Tip your head to your knee (you can straighten your legs or bend the knees) but do consult your doctor if you’re facing heart problems, pregnancy, diabetes, knee problems or any other illnesses before doing this.
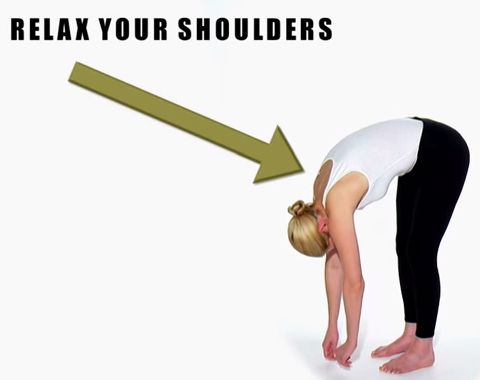
2. Relax your shoulders and move your weight to your feet, take three deep breaths so the blood drops to your face, allowing more oxygen to your cells
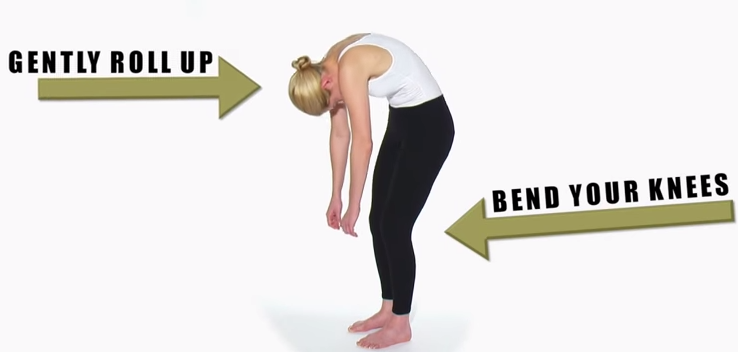
3. When you’re ready… Bend your knees and gently roll up slowly. Now you’re ready for a contour lifting facial massage.
You’ll be working from the top to the bottom of your face starting with your forehead, moving to the eyes, cheeks and then the jaw line.
Start by applying a serum or cream that apply will gently glide on the face smoothly, I use 001’s GLA & Anti-Oxidant Rich Cream £65, apply all over the face and neck. Re-apply when your face begins to feel dry again until the massage is complete.
https://www.youtube.com/watch?v=qmFpKhd6CXs
Step-by-step
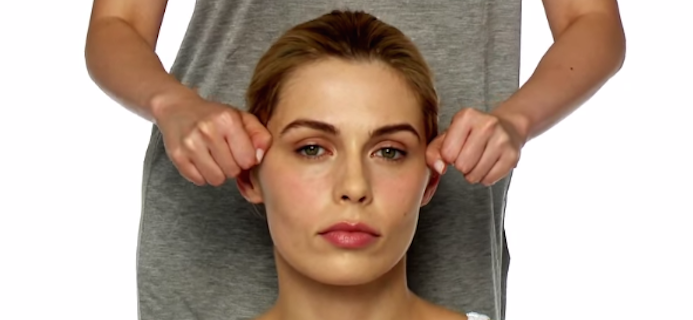
1. Make two fists and gently press your knuckles against your forehead, move upwards and then repeat.
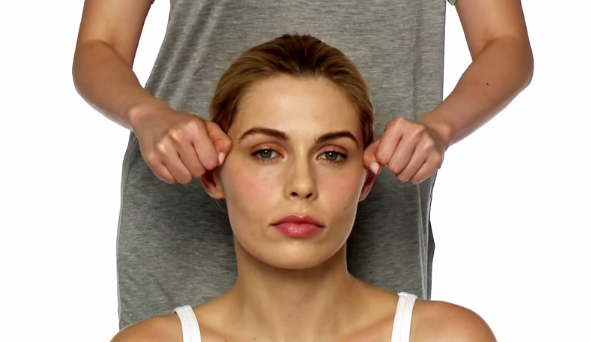
2. Using your knuckles again, press on your eyebrows with pressure and massage the temple area (this is where all the toxins can accumulate and massaging them will help to release them.
3. Now begin to press underneath your eyebrow (very gently).
4. Press against the skin with an uplifting motion and under your eye but don’t press too close to your eye bags.
5. Now, draw circles around the eye sockets, splitting the middle and ring fingers into scissors and moving them to the temple area. Press and massage with a little pressure and repeat 3-6 times.
 6. Now use the knuckle of the thumbs again, drawing small and upward strokes on top of the eyebrows. A lot of lines tend to appear under the eye bags so massaging this area is helpful for circulation but do make sure at this point you’re re-applying product so the skin isn’t drying and causing pulling around the eye area.
7. Now, create a diamond shape with your thumb and index finger, place them next to your nose and draw them across your face.
8. Now, massage the mouth with a circular motion really lifting the cheek up and when you come down, splitting your fingers into scissors.
9. Now using the knuckle of your thumbs again, press across your face from the bottom of the face to the top of the cheek, ending at the ears.
10. Move on to the jaw line now, using your left hand for the right side of your face and clip the skin across your jaw line with the middle and index finger. You should now end up at the front of your ears.
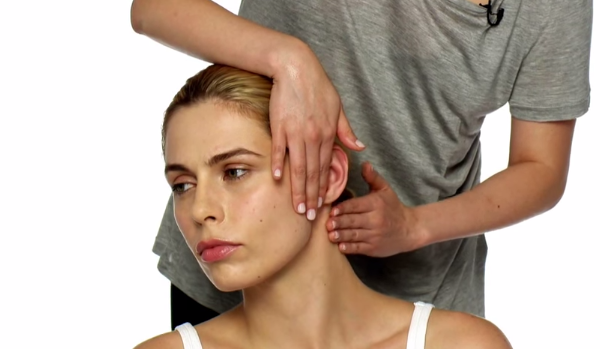 11. Use your right hand to massage the ears and work your way down to the neck and collar bone. Repeat a few times then move on to the other side of your face.
12. As we reach the end of this step-by-step guide, we finish off by massaging your face drawing upward circles from the forehead down to the eyes, then down the face and gradually to the jaw line.
13. Now swipe your hands down to your jaw line and then to your ears, then down to your neck and collar bone.
If you’ve felt inspired by this ‘How to’ guide, check out MORE.
Read MORE from Ada
 Ada Ooi is the founder and CEO of award winning British brand 001 Skincare is now living and working in London as a trained aroma therapist, beauty therapist, dance art curator and a champion of world cultures. Follow her on Twitter @adaooi
Like this article? Sign up to our newsletter to get more articles like this delivered straight to your inbox.